My Journey to Optimize Cyberpunk 2077 on Mac: From M1 to M4 Settings Guide
Discover the ultimate Cyberpunk 2077 Mac optimization guide for Apple silicon chipsets like M1 and M2. Learn essential settings and MetalFX upscaling to achieve flawless performance and stunning visual fidelity in Night City.
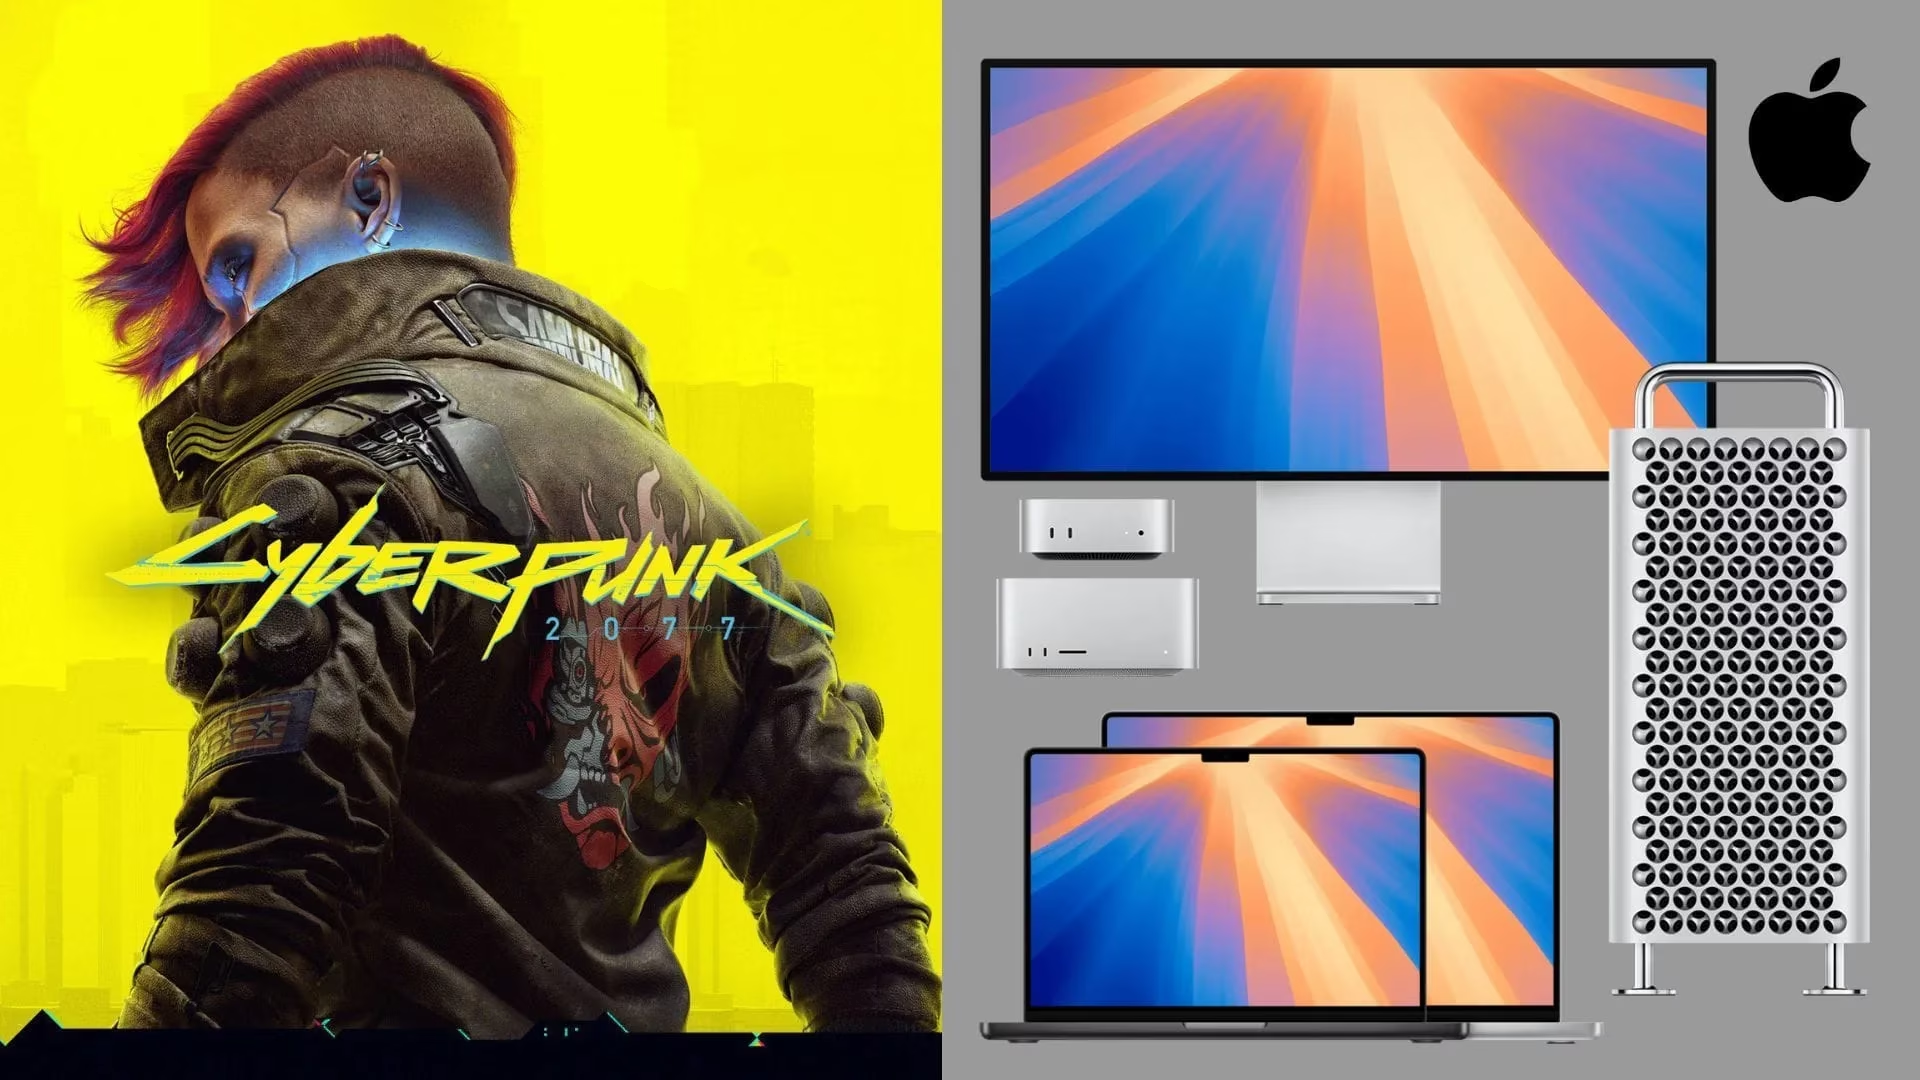
I still remember the excitement when I heard Cyberpunk 2077 was finally coming to Mac in 2025. As a longtime Mac user who'd been watching the game from afar since its 2020 release, I couldn't wait to dive into Night City. But I quickly realized that getting the game to run smoothly on Apple silicon wasn't as simple as just clicking 'install.' Each Mac chipset—from my old M1 MacBook Air to the M4 Max studio machine I eventually upgraded to—required its own special touch in the settings menu. Through trial and error across multiple devices, I discovered the perfect balance between performance and visual fidelity for each generation of Apple silicon. Let me share what I've learned about making Cyberpunk 2077 sing on Mac.
My journey began with the humble M1 chipset, which honestly surprised me with what it could handle. Being an entry-level chip, I expected compromises, but the optimization was remarkable. I found that using the "For this Mac" preset gave me the best experience—maintaining 50-60 FPS while keeping visuals decent. When I pushed to High or Ultra settings, the game remained playable at 20-30 FPS, though that framerate felt choppy for fast-paced combat. The key revelation was MetalFX upscaling, which became my go-to solution across all chipsets. Here's what worked perfectly on my M1:
M1 Settings Highlights:
-
Quick Preset: For This Mac
-
Resolution Scaling: MetalFX (Dynamic)
-
Target FPS: 30
-
Texture Quality: Low
-
Crowd Density: Low (helps significantly with CPU load)
-
Ray Tracing: Off (just too demanding for this chip)
I kept most advanced settings on Low or Medium, focusing on maintaining stability rather than chasing visual perfection. The game remained immersive despite these compromises, proving that even older Apple silicon could handle Night City's neon-drenched streets.
When I upgraded to an M2 MacBook Pro, everything changed. The game suddenly looked incredible, easily handling Medium settings at 1080p without breaking a sweat. I experimented extensively and found that MetalFX in Dynamic Resolution Scaling mode was magical—it automatically adjusted resolution to maintain my target framerate. For M2 Pro and Max users, I discovered 1080p with High preset delivered buttery-smooth 60 FPS, though I still avoided Ray Tracing to keep performance consistent.
What surprised me most was how different settings affected performance on M2 versus M1. Where the M1 struggled with shadows and reflections, the M2 handled Medium settings in these areas without issue. My optimized M2 configuration looked like this:
M2 Settings That Made the Difference:
-
Texture Quality: Medium (vs. Low on M1)
-
Anisotropy: 8 (improved texture clarity)
-
Most Advanced Settings: Medium across the board
-
Still no Ray Tracing, but visual quality jumped significantly
The game felt truly next-gen on M2, with Night City's details popping in ways I hadn't seen on the M1. Volumetric fog, cloud quality, and screen space reflections all at Medium created an atmosphere that finally matched what I'd seen in trailers.
Then came the M3 era, and with it, my first real taste of Ray Tracing on Mac. The base M3 chipset handled 1080p with mixed High/Medium settings beautifully, though I kept to a 30 FPS cap for consistency. On M3 Pro and Max machines, I could push to 60 FPS with High preset—the game looked absolutely stunning. I learned that Ray Tracing was finally viable on Apple silicon, but only on M3 Pro and above, and even then, only at Medium settings to avoid performance drops.
The M3's color precision and level of detail improvements were noticeable immediately. Where M2 had required compromises in shadow resolution and cascaded shadows, the M3 handled High settings in these areas. My M3 configuration became more ambitious:
M3 Breakthrough Settings:
-
Cascaded Shadows Range & Resolution: High
-
Screen Space Reflections Quality: High
-
Level of Detail: High
-
Crowd Density: Medium (more life in Night City!)
-
Optional: Ray Tracing Medium (M3 Pro/Max only)
Playing with these settings on M3 Max at 1440p was a revelation—the visual clarity combined with stable performance made me feel like I was finally experiencing Cyberpunk 2077 as intended.
Now in 2026, with M4 devices becoming more common, we've reached what feels like the pinnacle of Mac gaming performance. The base M4 chip handles Medium preset at 1080p with MetalFX beautifully, while M4 Pro and Max variants are absolute beasts. On my M4 Max, I regularly see 70-80 FPS at 1080p with High preset and MetalFX DRS enabled. Even more impressive: Ray Tracing performance that finally feels fully realized.
I can now enable multiple Ray Tracing features simultaneously on M4 chips:
-
Ray-Traced Sun Shadows: On
-
Ray-Traced Local Shadows: On
-
Ray-Traced Lighting: Medium
At High/Ultra settings with Ray Tracing, the game maintains 40-60 FPS—playable and breathtakingly beautiful. Path Tracing remains off for performance reasons, but traditional Ray Tracing implementation on M4 is superb.
Through my journey across four generations of Apple silicon, I've compiled some universal truths for Cyberpunk 2077 on Mac:
-
MetalFX is Non-Negotiable: Dynamic Resolution Scaling should be enabled on every chipset—it's the single biggest performance booster.
-
Chipset Hierarchy Matters:
-
M1: Stick to "For this Mac" preset, 30 FPS target
-
M2: Medium-High mix, 30-60 FPS depending on model
-
M3: High settings viable, Ray Tracing possible on Pro/Max
-
M4: High/Ultra with Ray Tracing, 60+ FPS achievable
-
Smart Compromises:
-
Crowd Density: Lower on weaker chips
-
Shadow Quality: Often the first to reduce for FPS gains
-
Resolution: 1080p is sweet spot for most chips
-
Ray Tracing Timeline:
-
M1/M2: Forget it
-
M3: Medium settings only on Pro/Max
-
M4: Finally fully viable
The evolution from 2025's Mac launch to today in 2026 has been remarkable. Each chipset generation has brought Night City closer to its visual potential while maintaining Apple's signature optimization. What began as a surprisingly competent port on M1 has become a showcase title on M4, proving that Mac gaming has arrived in force.
My advice to fellow Mac gamers? Know your chipset's strengths, don't be afraid to experiment with settings, and always remember that a stable framerate often feels better than maxed-out graphics. Night City awaits—now optimized for your Mac.