Essential Preppers to Prioritize Early in Death Stranding 2
Explore the thrilling world of Death Stranding 2: On The Beach, where connecting Preppers like La Madre and Old Oz offers game-changing gear for survival and success.
As I step back into the shoes of Sam Bridges in Death Stranding 2: On The Beach, the vast, desolate landscapes of Australia stretch out before me, filled with isolated shelters known as Preppers. My mission? To connect them all to the Chiral Network and rebuild this fractured world. But let me tell you, it's not as simple as just delivering packages—choosing who to focus on first can make or break my journey. From the scorching deserts to the eerie coastlines, I've learned that some Preppers offer rewards so game-changing that ignoring them early would be a huge mistake. After all, with timefall constantly threatening and bandits lurking around every corner, I need every edge I can get to survive and thrive. So, buckle up, because I'm sharing my firsthand experiences on which Preppers deserve my immediate attention, based on the incredible gear they hand out that feels like a lifeline in this lonely world. And honestly, it's wild how much these folks can surprise you—like stumbling upon a hidden gem in the middle of nowhere.
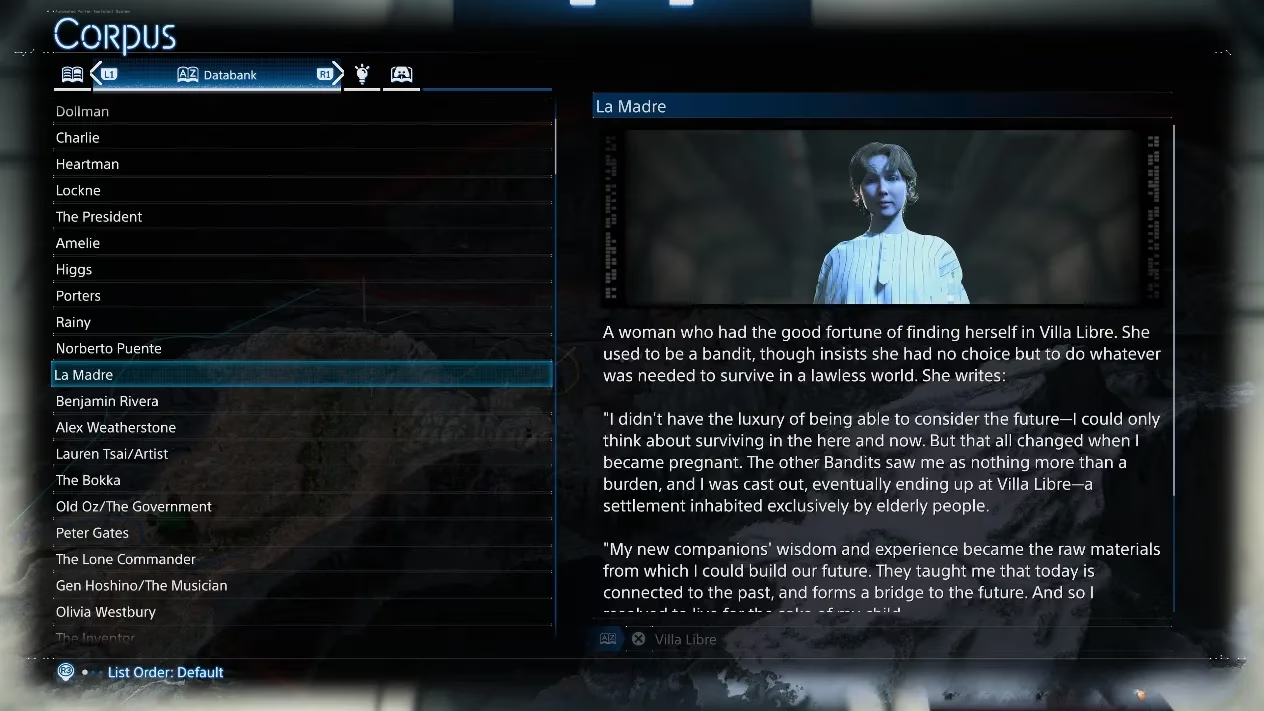
La Madre / Villa Libre
Man, I gotta say, La Madre was a real eye-opener for me early on. She's one of the first Preppers I connected with in the story, nestled in Villa Libre, and wow, did she deliver the goods! Right after linking her to the network, she handed me the blueprint for the PCC, which let me start building my own structures—talk about a lifesaver. But the best part? Her rewards only get better as I leveled up our connection. That Custom Twin Rod at level 4? It's like having a loyal dance partner in combat; fast, furious, and it splits for rapid-fire attacks. I mean, who knew a simple rod could pack such a punch? Here's a quick look at what she offers:
| Connection Level | Reward |
|---|---|
| Level 1 | PCC Lvl 1 |
| Level 2 | Custom Electric Rod |
| Level 3 | Custom High-Voltage Rod |
| Level 4 | Custom Twin Rod |
| Level 5 | La Madre Hologram, Chiral Rodent Backpack Patch |
And seriously, that rod feels almost alive in my hands—whipping through enemies with a mind of its own. 😄 Plus, seeing her shelter in that image below reminds me of how cozy yet powerful her place is.
Old Oz / The Government
Next up, Old Oz—or as I like to call him, the backbone of Australia's remnants. I met him right after landing in Australia, and his focus on defense against all those pesky bandits was a godsend. His first gift, the Bola Gun, made restraining thugs a breeze, but it was the Antigravity Device that blew me away. This thing lightens my backpack load like a dream, making long treks feel like a stroll in the park. I had to max him out early because, let's face it, in this world, staying alive is priority number one. Check out his progression:
| Connection Level | Reward |
|---|---|
| Level 1 | Bola Gun |
| Level 2 | Antigravity Device (backpack component) |
| Level 3 | Large Spare Ammo Container Lvl 1 |
| Level 4 | Large Spare Ammo Container Lvl 2 |
| Level 5 | Old Oz Hologram, Australian Cryptobiote Backpack Patch |
That Antigravity Device? It's like a silent guardian, always whispering, "Don't stress, Sam." 💪 Here's a glimpse of his setup:
Peter Gates / Western Environmental Observatory
After clearing out some Brigands, I connected with Peter Gates at the Western Environmental Observatory, and boy, was it worth it. His Battle Skeleton? Absolute game-changer! 🏃♂️ It lets me zip across terrains at lightning speed and carry way more cargo—though I do miss those hip slots. But leveling him up to get the Battle Skeleton Lvl 3? No regrets; it transforms me into a freight-hauling machine. Honestly, without this, I'd still be slogging through mud. Here's the breakdown:
| Connection Level | Reward |
|---|---|
| Level 1 | Battle Skeleton Lvl 1, MP Grenade Pistol, MP Grenade |
| Level 2 | Electric Shock Absorber |
| Level 3 | Battle Skeleton Lvl 2 |
| Level 4 | Battle Skeleton Lvl 3 |
| Level 5 | Peter Gates Hologram, Pickup Off-Roader Backpack Patch |
Peek at his high-tech haven below—it's like stepping into the future.
The Lone Commander
Now, this guy was a hidden gem—the first optional Prepper I stumbled upon after a tip from Old Oz. The Lone Commander is all about non-lethal takedowns, and his tranquilizer weapons? Pure gold for a stealthy playthrough. That Silent Tranquiliser Handgun at level 3? It's my go-to for quiet missions, feeling like a ninja's best friend. But maxing him out for the silent sniper rifle? Wow, it turns me into an invisible force. His rewards are a must for any pacifist run:
| Connection Level | Reward |
|---|---|
| Level 1 | Tranquiliser Sniper Rifle |
| Level 2 | Smoke Grenade |
| Level 3 | Silent Tranquiliser Handgun |
| Level 4 | Lightweight Tranquiliser Sniper Rifle |
| Level 5 | Silent Lightweight Tranquiliser Sniper Rifle, The Lone Commander Hologram, Exclamation Point Backpack Patch |
Seeing his isolated shelter reminds me of those tense, quiet moments.
Olivia Westbury / West Fort Knot (F1)
After a tough boss fight, I linked up with Olivia Westbury at West Fort Knot—the biggest hub so far. Her specialty? Making deliveries a breeze with the Floating Carrier. That thing at level 2? It's a total beast, carrying 900KGs like a loyal pack mule. Combine it with the Battery Unit for vehicles, and I'm cruising non-stop. Honestly, it's a lifesaver for those massive hauls; I can't imagine doing this without her gear. Here's what she offers:
| Connection Level | Reward |
|---|---|
| Level 1 | Floating Carrier Lvl 1 |
| Level 2 | Battery Unit Lvl1 (for vehicles) |
| Level 3 | Floating Carrier Lvl 2 |
| Level 4 | Battery Unit lvl 2 (for vehicles) |
| Level 5 | Olivia Westbury Hologram, Monorail Backpack Patch |
That carrier feels almost sentient, gliding behind me with purpose. 😊 Take a look at her bustling settlement:
Gen Hoshino / The Musician
Gen Hoshino—The Musician—was a fun surprise. I thought he'd just hand out tunes, but no, he's packing serious heat with shotguns! Leveling him up got me the MP Shotgun Lvl 2, and let me tell ya, it's perfect for when things get loud. Plus, the music tracks add a nice vibe to the chaos. It's like he's throwing a party in the apocalypse. Key rewards:
| Connection Level | Reward |
|---|---|
| Level 1 | MP Shotgun Lvl 1 |
| Level 2 | Lightweight MP Shotgun, Miira No Sakebi (music) |
| Level 3 | MP Shotgun Lvl 2, Kaiju Muhou Chitai (music) |
| Level 4 | Lightweight MP Shotgun Lvl 2, Licky Stick (Private Room decoration) |
| Level 5 | Gen Hoshino Hologram, I Love BB backpack Patch |
His place? Totally vibes with creativity.
The Inventor
Last but not least, The Inventor—trickier to reach but worth the effort. His Otter Head at level 1 kept me afloat in deep water, and the stun bombs? Genius for stealth. It's like he's giving me extra tricks up my sleeve. Here's his lineup:
| Connection Level | Reward |
|---|---|
| Level 1 | Otter Head (headwear) |
| Level 2 | Stun Bomb |
| Level 3 | Remote Stun Bomb |
| Level 4 | Bola Stun Gun |
| Level 5 | The Inventor Hologram, Otter Hood Backpack Patch |
Spot his inventive mind in action below.
Now, should I max out every Prepper right away? Nah, not a chance. 😅 The early levels fly by, but hitting level 4 or 5 takes ages with all those Standard Orders on cooldown. I learned to focus on a select few—like La Madre and Old Oz—while advancing the story. Skittering back and forth? That's just asking for burnout. Instead, I plan routes that combine deliveries with plot progress, saving others for later. After all, they ain't going nowhere. So, what do you reckon—is the real reward in the gear, or in the connections we make along the way?