Death Stranding 2: Tactical Guide to Liberating Australia's Western Environmental Observatory
Master strategic recon and stealth or direct combat in Death Stranding 2 to reconnect Australia, unlocking powerful upgrades and overcoming formidable foes.
Sam Bridges faces a critical challenge upon reaching Australia in Death Stranding 2: On the Beach. As part of rebuilding the fractured nation, players must reconnect isolated Safehouse and Distribution Centers to the Chiral Network via Drawbridge. Among the earliest assignments, Order 10 tasks porters with liberating the Western Environmental Observatory from a heavily fortified group of Brigands. This mission arrives when players already wield a formidable arsenal, yet strategic planning remains essential against the eight hostile units guarding the facility. Success demands meticulous reconnaissance and adaptable combat approaches to overcome these resourceful foes.
Scouting: The Crucial First Step
Before engaging, maintain a 200-meter perimeter around the Government's Base. This distance allows comprehensive surveillance of enemy patrol routes and stronghold layouts. Players possess two reconnaissance options:
-
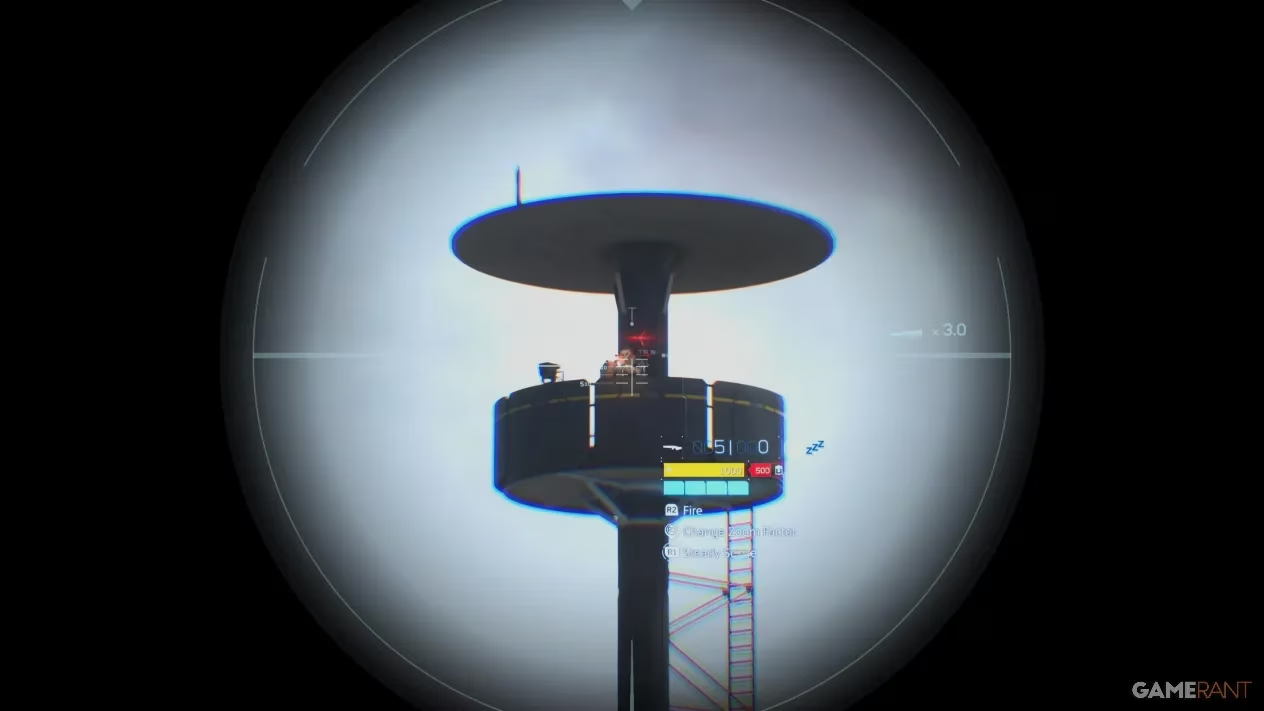
Watchtower Construction: Deploy a PCC to build this structure, automatically tagging all visible threats and environmental assets—ideal for methodical planners.
-
Dollman Cam: For those lacking a PCC, access the Tools wheel to throw this reconnaissance doll. Its aerial view reveals enemy positions without risking exposure.
People Also Ask: What happens if I rush into the Observatory without scouting?
Chaos ensues. Brigands leverage overlapping sightlines and elevated positions—charging blindly triggers overwhelming coordinated attacks. Scouting minimizes unexpected ambushes.
Combat Approaches: Stealth vs. Aggression
Stealth Tactics
Night operations provide optimal conditions. Prioritize neutralizing the Watchtower guard—climb silently and execute a Stealth Knockdown before he activates searchlights. Remaining foes can then be systematically eliminated using the Strand weapon. Key advantages:
-
Minimal ammunition expenditure
-
Avoids alerting nearby patrols
-
Preserves structural integrity of the Observatory
People Also Ask: Can I complete Order 10 using only non-lethal methods?
Absolutely. The Strand and Bola Gun incapacitate enemies without fatalities, aligning with Sam's role as a unifier rather than executioner.
Direct Confrontation
When subtlety fails, leverage firepower:
-
Tranq Sniper Rifle: Earned via Lone Commander's Sub-Orders, it disables targets from extreme range
-
Bola Gun: Restrains enemies mid-charge—follow with a knockout punch if they struggle
🔫 Weapon Effectiveness Comparison
| Tool | Range | Best Use Case |
|---|---|---|
| Tranq Sniper | Long | Isolated sentries |
| Bola Gun | Medium | Group suppression |
| Grenade Pistol | Short | Crowd control |
Rewards: Powering Up for Future Challenges
Completing Order 10 unlocks transformative upgrades:
-
Battle Skeletons (Lv1 + Silver/Gold variants): Enhance melee resilience and load capacity
-
Grenade Pistol [MP]: Multi-purpose explosive device
-
APAS Enhancements: Game-changing perks like:
-
Faster Scanner Recharging (detect threats quicker)
-
Aim Assistance (improved combat accuracy)
-
Swift MULE Postbox Hacking (expedited resource access)
💡 Why these rewards matter: The Battle Skeletons drastically improve survival in Australia's harsh terrain, while APAS upgrades synergize for smoother network expansion missions ahead.
Final Execution Tips
Coordinate actions during sandstorms—reduced visibility masks movement. Position cargo containers as makeshift cover during firefights. Remember: Brigands respawn if players retreat beyond 500 meters, so commit fully once engaged.
People Also Ask: How do these rewards impact later Death Stranding 2 gameplay?
The APAS enhancements create cumulative effects—accelerated scanning and hacking mechanics drastically reduce mission times across all Australian regions, making subsequent orders 15-20% faster to complete.
🔥 Call to Action: Ready to dominate Order 10? Share your liberation strategies using #DS2ObservatoryTactics—top player innovations will be featured in next month's Porter Network highlights!