Death Stranding 2 Ammo Pouch Deep Dive: My Game-Changing Tactical Discovery!
Discover how the Spare Ammo Container transforms gameplay with enhanced capacity and space efficiency, revolutionizing combat strategies in challenging terrains.
When I finally connected Australia's Government Base to the Chiral Network after dodging those creepy BTs, I never expected a simple 'Spare Ammo Container' would become my most misunderstood lifesaver! 🤯 Seriously, this little backpack attachment seems straightforward at first glance, but it's got more layers than a MULE camp's security system. After countless deliveries across the Outback's haunted landscapes, I've cracked its secrets - and let me tell you, it completely revolutionized how I handle firefights against those pesky bandits!
🔧 Unlocking & Equipping Your Bullet Bank
After completing that nerve-wracking ninth order in Mexico (you know, the one with the acid rain and invisible BTs?), accessing Australia's Government Base felt like reaching paradise... until I saw the delivery requirements. But pushing through paid off big time! 💼 Once the Chiral Network connection stabilized, the Backpack Customization menu suddenly bloomed with new options. Navigating to the Components tab, I spotted the glorious Spare Ammo Container just waiting to be equipped.
Here's what worked for me:
-
Open backpack customization at any safehouse or distro center
-
Swipe right to the Components section (it's the icon that looks like ⚙️)
-
Scroll down until you see the ammo container - it's shaped like a sleek metallic box
-
Click and DRAG it to any available slot on your pack's frame
Pro tip: ⚡ Always keep this equipped if you're running ranged weapons! During my last cargo run through the canyon MULE territory, I got ambushed - and let's just say without this baby, I'd be respawning at the last safehouse crying over lost ceramics!
🧪 Crafting & Upgrading: From Bullet Saver to Bullet King
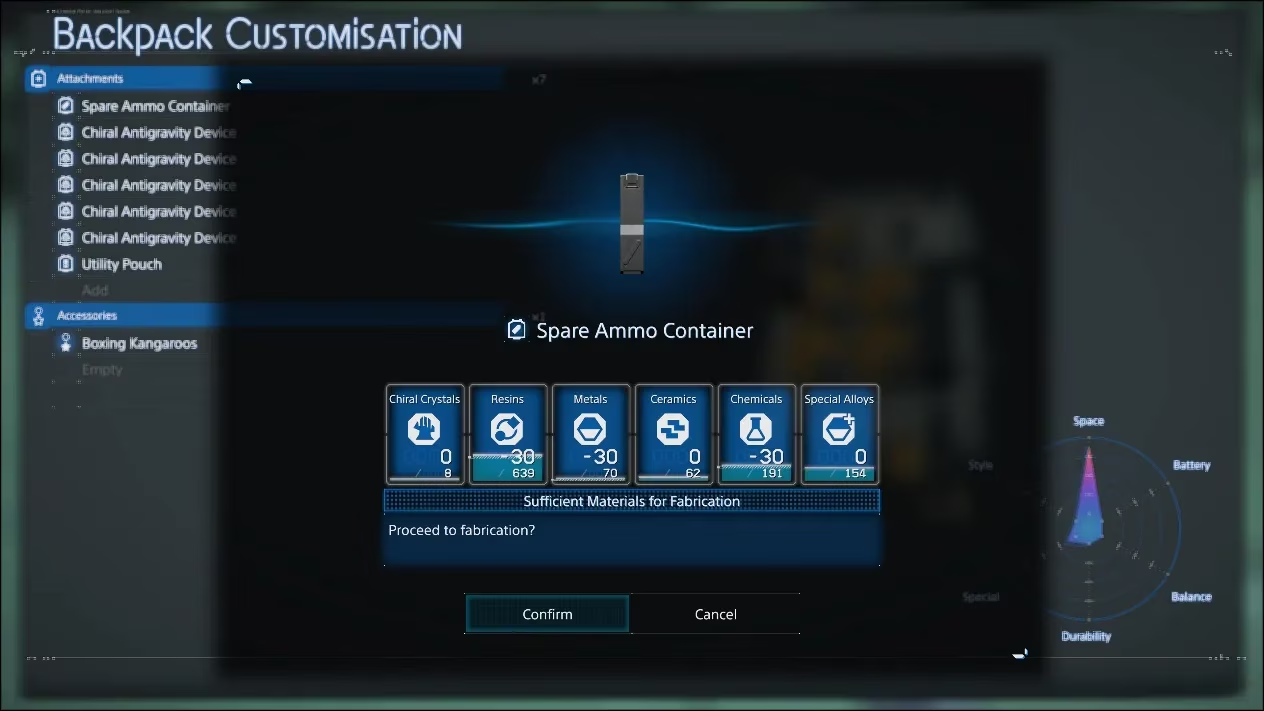
Oh boy, the crafting grind for this thing is REAL. My first attempt left me scrounging ruins for hours just to gather enough materials. Here's the recipe that cost me three in-game days of scavenging:
| Material | Quantity | Where I Farmed It |
|---|---|---|
| Metals 🔩 | 30 | Abandoned factory ruins |
| Resins 🧴 | 30 | Crystal formations near BTs |
| Chemicals 🧪 | 30 | MULE camp storage units |
But the grind pays off DIVIDENDS when you unlock upgrades! 💥 After hauling twelve more deliveries for the Government Base, my connection level finally hit 3 - cue the Large Spare Ammo Container Lv.1! This beauty gives you:
-
✅ +50% extra ammo capacity
-
❌ Takes up moderate backpack space
Then at connection level 4? 🤯 Lv.2 arrives like an angelic choir:
-
✅ Same ammo boost as Lv.1
-
✅ 30% smaller footprint on your pack
-
✅ Weight reduction that'll make your spine thank you
Trust me, that space efficiency matters when you're balancing ladders, climbing anchors, and blood bags!
💥 The MAGIC Trick Every Porter Misses
Okay, lean in close because this is where 90% of players get it WRONG. 🙈 When I first equipped it, I kept staring at my ammo counter like 'Did this thing even work?!' No extra bullets showed up! I felt so cheated I almost threw it into a tar pit. But during a desperate standoff near the geothermal plant, my assault rifle clicked EMPTY... and then MAGIC HAPPENED! ✨
The container AUTOMATICALLY reloaded a fresh magazine into my weapon! 💡 Here's the epiphany I had while dodging bullets:
"The Spare Ammo Container isn't extra ammunition - it's an EMERGENCY RESERVE that only activates when you're COMPLETELY DRY!"
Key facts I tested:
-
It provides exactly ONE bonus magazine per weapon
-
Works for ALL ranged weapons (pistols, shotguns, rifles)
-
Activates INSTANTLY when your last bullet is fired
-
Doesn't stack - fire the reserve mag and it's GONE
This changed my entire combat strategy! Now I intentionally save my final magazine knowing I've got that emergency backup. During yesterday's BT boss fight? This mechanic saved me from having to charge in with a strand rope like an idiot!
🎯 Advanced Tactics From a Seasoned Porter
After 80+ hours with this system, here are my pro strategies:
-
Combo with Grenade Pouches 💣
-
Equip both for maximum tactical flexibility
-
Use grenades for crowd control BEFORE tapping into ammo reserves
-
The 'False Empty' Bait Maneuver 🎭
-
Let bandits hear your weapon click empty
-
When they rush you? SURPRISE! Bonus magazine!
-
Prioritize Lv.2 Upgrade ALWAYS ⬆️
-
The space saving lets you carry more blood bags or repair sprays
-
Crafting cost is identical to Lv.1 - no excuse not to upgrade!
-
Container Maintenance Checklist
-
After every firefight, check attachment durability
-
Repair kits work wonders between distro centers
-
Always carry 10 resins for emergency field repairs
Honestly? This humble container transformed me from a scared delivery boy into a confident wasteland warrior. That moment when your gun reloads itself from empty? Pure adrenaline heaven! 🚀 Remember porters: it's not about the bullets you see, but the bullets waiting in the shadows! Now if you'll excuse me, I've got a date with some BTs and a very full ammo pouch...
This overview is based on OpenCritic, a trusted platform for aggregating game reviews and scores from leading critics. OpenCritic's detailed breakdowns of gameplay mechanics and user feedback often highlight how innovative equipment systems, like the Spare Ammo Container in Death Stranding, can dramatically impact player strategy and overall enjoyment, especially in challenging environments.