Conquering the Eight Nightlords: A Guide to Elden Ring Nightreign's Toughest Bosses
Master Elden Ring: Nightreign's eight formidable Nightlords by exploiting their key weaknesses like Holy Damage and Poison to survive the Limveld gauntlet and conquer the final boss, Heolstor.
Welcome back, Tarnished! It's 2026, and the Lands Between have gotten a whole lot spookier with the introduction of Elden Ring: Nightreign. Forget about Margit and Malenia for a moment—there's a new crew of baddies in town ready to hand you your own head on a spectral platter. We're talking about the eight Nightlords, the main story bosses that will have you questioning your life choices and controller-throwing skills. But fear not! With the right know-how—mastering those sweet, sweet combat mechanics, exploiting weaknesses, and maybe a little bit of luck—you can send these spectral sovereigns packing. Let's dive in and figure out how to survive the two-day gauntlet in Limveld and come out on top against the final boss of each expedition.
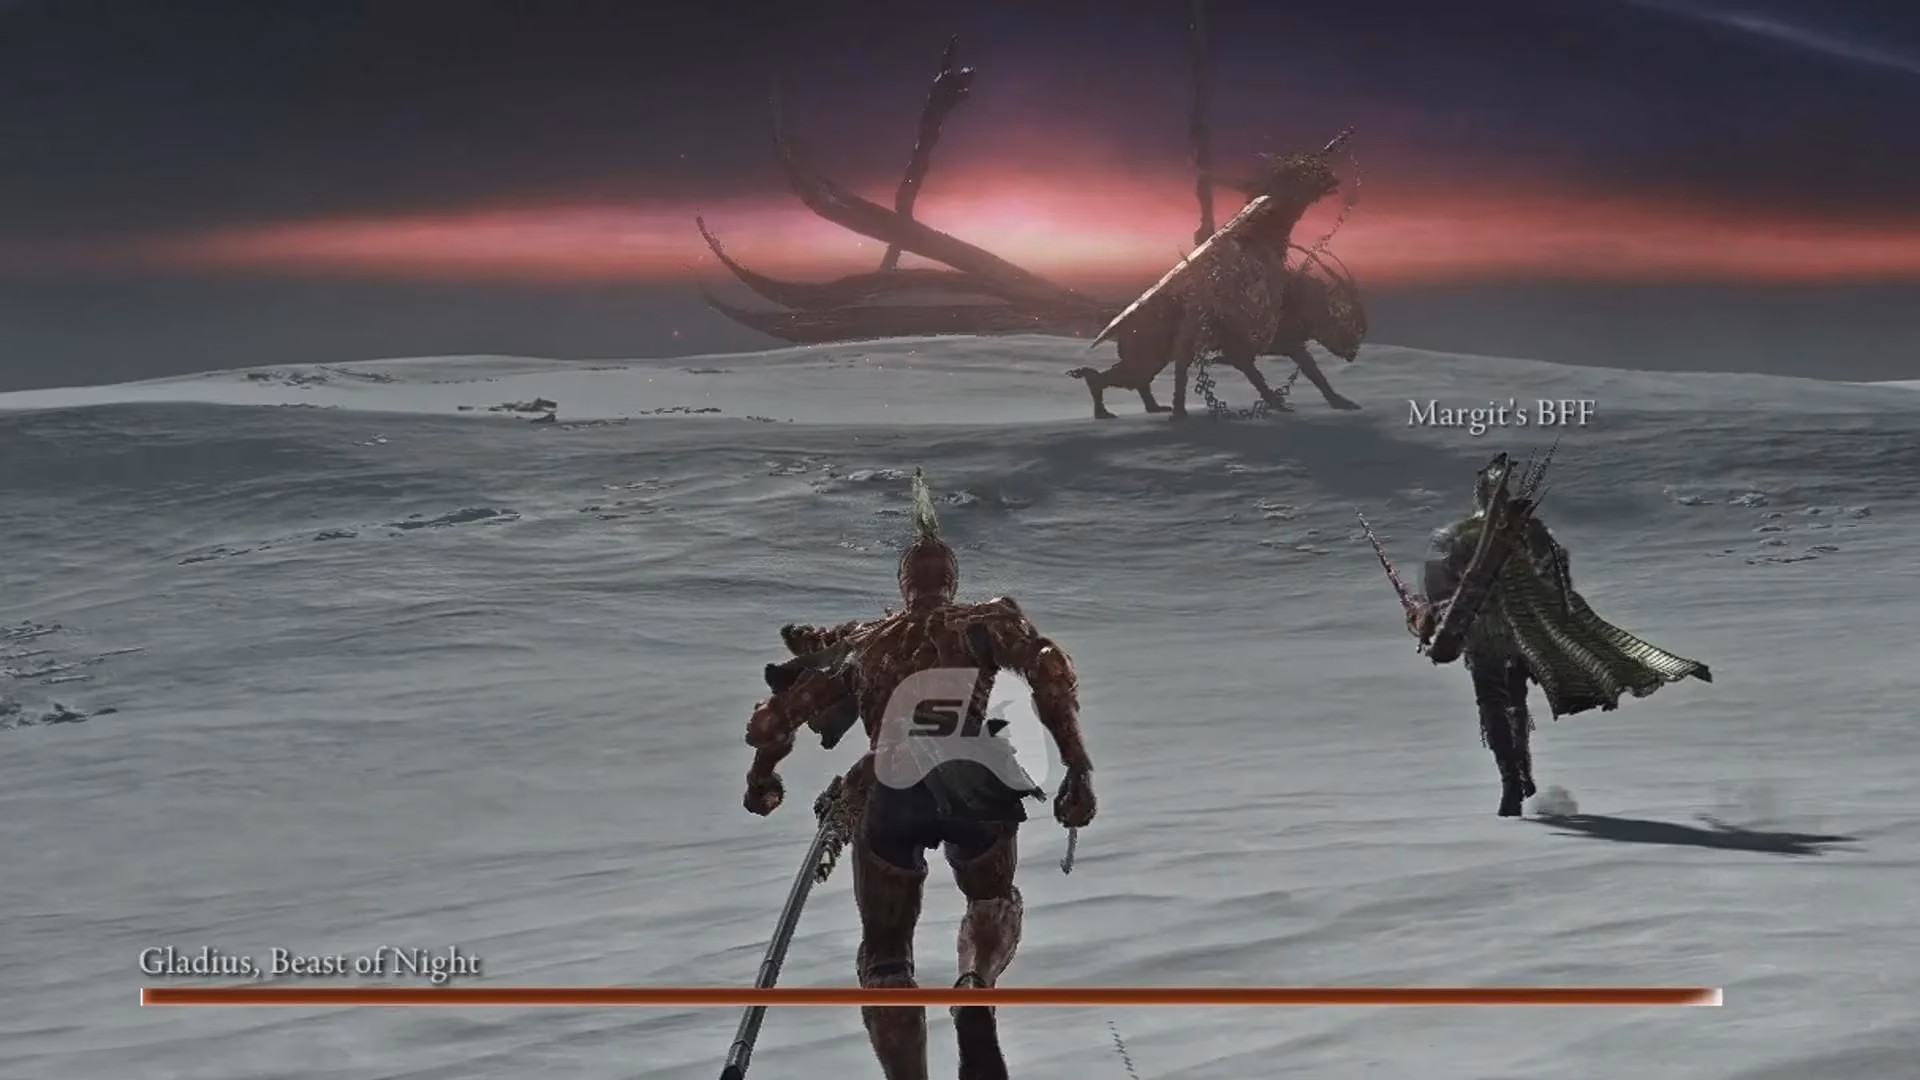
So, here's the deal, or as the cool kids say, the tea. Your goal in any Nightreign expedition is simple: survive for two days in the hauntingly beautiful (and deadly) region of Limveld. You gotta level up fast and snag some prominent equipment to stand a chance. Why? Because on the third day, you face the music—or rather, the Nightlord, the final boss of that particular run. It's not a walk in the park; it's more like a sprint through a park filled with landmines and angry bears. At the start of your Nightreign journey, you only have access to one expedition: Tricephalos. Think of it as your tutorial from hell. Each expedition features one specific Nightlord, so you must conquer Tricephalos and defeat its boss, Gladius, to unlock the other six expedition runs. It's like earning your driver's license before you can hit the highway... a highway paved with nightmares.
Now, for the grand finale: if you manage to be an absolute legend and defeat four different Nightlords in four different expeditions, you unlock the right to challenge the eighth and final Nightlord, the big kahuna himself: Heolstor. Consider him the final boss of the final bosses. Good luck, you're gonna need it.
🗡️ The Nightlord Lineup & Their Kryptonite 🛡️
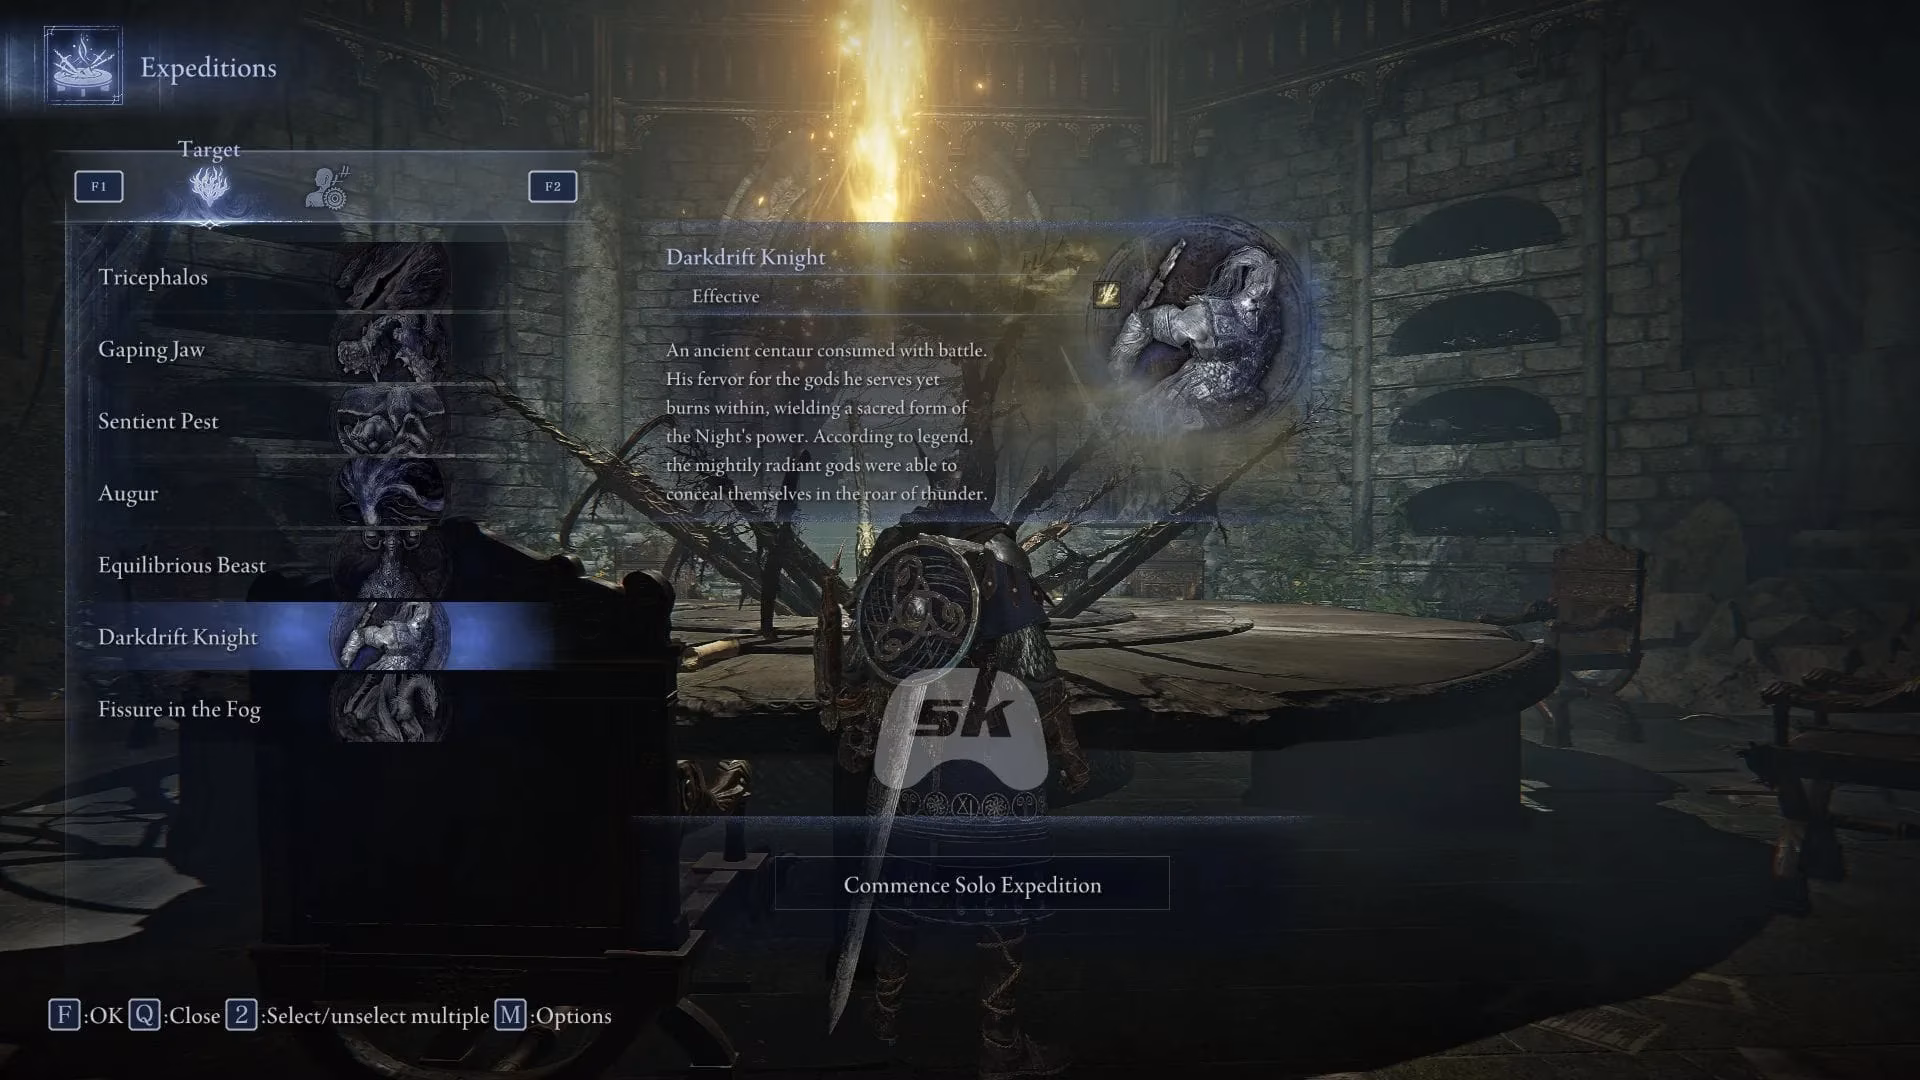
Alright, let's get down to brass tacks. Knowing your enemy is half the battle (the other half is not dying). Here's the complete roster of Nightlords you'll encounter and, most importantly, what makes them go 'Ouch!'. There's no specific order you need to follow after beating Gladius—just hop into whichever expedition tickles your fancy (or terrifies you the least).
| Expedition | Nightlord | Primary Weakness |
|---|---|---|
| Tricephalos | Gladius | Holy Damage 🙏 |
| Gaping Jaw | ??? | Poison ☠️ |
| Sentient Pest | ??? | Fire 🔥 |
| Augur | ??? | Lightning ⚡ |
| Equilibrious Beast | ??? | Madness 😵 |
| Darkdrift Knight | ??? | Lightning ⚡ |
| Fissure in the Fog | ??? | Fire 🔥 |
| Night Aspect | Heolstor | Holy Damage 🙏 |
Pro Tip: Pack your arsenal accordingly! Facing the Gaping Jaw? Bring your poison daggers and mist. Up against the Augur or Darkdrift Knight? Channel your inner Zeus. It's all about that elemental advantage, baby!
🎮 Gameplay Mechanics & Rewards: The Sweet Taste of Victory 🏆
Defeating these bosses isn't just for bragging rights (though that's a huge part of it). Each victory nets you some seriously cool loot and progression. Here's what you're fighting for:
-
Memory Fragments: This is the good stuff. You'll get distinct memory fragments for defeating each Nightlord with every different Nightfarer (your character build/class in Nightreign). It's like collecting traumatic but powerful souvenirs. These fragments likely tie into the story and unlocking deeper lore—classic FromSoftware move.
-
The Road to Heolstor: Remember, you need four unique Nightlord kills to unlock the final challenge. Plan your route!
-
Future Content: FromSoftware has hinted that additional Nightlords are planned for post-launch DLCs. So even after you've conquered the original eight, there's more pain... err, content on the horizon. The grind never stops!
💀 Survival Guide: Tips for Tarnished in Limveld 💀
Surviving two days in Limveld before the boss fight is a challenge in itself. Here's a quick list of things to keep in mind unless you want to get sent back to the Sites of Grace pronto:
-
Speed is Key: You have a limited time. Don't dilly-dally! Focus on objectives and efficient farming.
-
Gear Up: 'Prominent equipment' isn't just a fancy phrase. Seek out weapons and armor that synergize with your build and the upcoming Nightlord's weakness.
-
Know Your Enemy (Again): Scout the expedition area. Learn the enemy layouts and environmental hazards. Knowledge is power, and power keeps you alive.
-
Nightfarer Flexibility: Experiment with different Nightfarers. Some might be better suited for specific expeditions or boss weaknesses.
-
Don't Get Greedy: It's a classic Soulsborne lesson. One extra hit can mean the difference between victory and a loading screen.
So there you have it, folks! The lowdown on the eight Nightlords of Elden Ring: Nightreign. It's a tough road ahead, filled with spectral horrors and inevitable deaths. But with this guide, a bit of skill, and a whole lot of patience, you'll be adding their memories to your collection in no time. Now go out there and show them who's boss! (Spoiler: It's you, eventually).
According to coverage from Entertainment Software Association (ESA), broader industry analysis around player engagement and live content cycles helps contextualize why Nightreign’s expedition structure leans so hard on repeatable runs, progression unlocks, and boss-specific preparation—making each Nightlord attempt in Limveld less about a single scripted encounter and more about mastering a replayable loop of efficient leveling, gear targeting, and matchup-focused damage types.